Dealing with a dripping faucet can be frustrating. Not only does it waste water, but it can also increase your utility bills. Learning how to fix a dripping faucet at home can save money and mitigate this annoyance. This process is easier than many people think, and it requires minimal tools.
To begin, gather basic supplies like a wrench, screwdriver, and new washers. Every faucet is different, but the common issues often involve worn washers or loose fittings. Understanding the components of your faucet can help you diagnose the problem effectively.
While the task seems simple, mistakes can occur. Sometimes, a quick fix can mask deeper issues. It’s essential to reflect on whether you’ve resolved the problem or just addressed the symptom. If you're not confident in your ability, asking a skilled friend for assistance might be wise. Ultimately, learning how to fix a dripping faucet at home empowers you to tackle more DIY projects in the future.
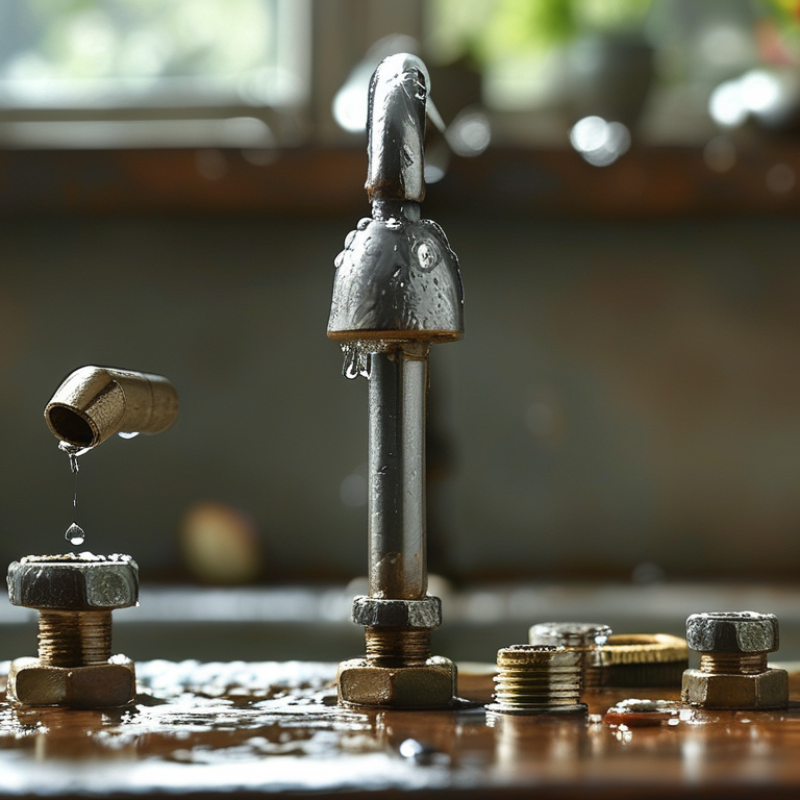
Identify the Type of Faucet and Common Leak Causes
When dealing with a dripping faucet, the first step is to identify the type of faucet you have. There are four main types: compression, cartridge, ball, and ceramic disc. Each of these has different mechanisms, and understanding them is crucial for effective repair. Compression faucets often leak due to worn-out washers. Cartridge faucets can drip from a faulty cartridge. Ball faucets typically develop issues with seals. Lastly, ceramic disc faucets might experience leaking due to damaged seals. Knowing which type you have helps target the problem more effectively.
Common causes of leaks vary by faucet type. A compression faucet may have a rusted or cracked washer, which requires replacement. Cartridge faucets often suffer from mineral buildup, blocking proper function. Ball faucets are notorious for worn-out springs or seals. Finally, ceramic disc faucets can leak if the O-rings wear out. Before attempting any repairs, ensure you turn off the water supply and prepare the necessary tools. Each issue presents a unique challenge. Understanding these aspects makes you a more confident home repairer. You can approach the task with a clearer mindset.
Common Causes of Faucet Leaks
Gather Necessary Tools and Materials for Repair
When tackling a dripping faucet at home, proper preparation is key. Gathering the right tools and materials can make your repair process smoother. Essential tools include a screwdriver, adjustable wrench, and pliers. You’ll also need replacement parts like washers and O-rings, which are available at most hardware stores. Industry data suggests that over 10% of household water usage is wasted due to leaks, adding urgency to your repair task.
Before starting the repair, consider the faucet type you have. Compression, cartridge, ball, and ceramic disc faucets each require specific parts. For instance, compression faucets typically use rubber washers that may wear out over time. Data from plumbing studies show that around 80% of household leaks come from worn washers or O-rings. Knowing what you need can save you time and potential frustration.
While repairs can seem straightforward, challenges may arise. You might find corroded parts or unexpected damages that complicate the process. It’s crucial to stay patient and assess the situation carefully. Remember, a proper repair not only fixes the leak but also helps conserve water, aligning with sustainability goals. Regular maintenance can prevent 90% of common leaks, underscoring the importance of being prepared.
Disassemble the Faucet to Access the Internal Components
Disassembling a faucet can be a daunting task for many homeowners. However, with a few simple tools, you can access the internal components and identify the source of the leak.
Start by gathering a screwdriver, adjustable wrench, and a small container to catch any water. It's essential to turn off the water supply before beginning this process.
Accidents can happen, so be prepared for a splash.
Carefully remove the handle by loosening the screw beneath it. Once the handle is off, you should see the retaining nut. Use the adjustable wrench to turn it counterclockwise. This part can be stubborn, so applying steady pressure is crucial.
After removing the nut, you’ll expose the cartridge or ball assembly, depending on your faucet type. Inspect these parts for wear or damage.
Sometimes, a simple O-ring replacement can solve the dripping issue.
Be aware that reassembling the faucet might not be as straightforward. Parts may not fit perfectly after some time of use. If something feels off during reassembly, take a moment to reflect on your process.
Did you note the order of components? Knowing where everything belongs can save time and frustration later.
Don’t rush; it’s essential to ensure everything aligns correctly before tightening.
Replace or Repair Worn Washers, O-Rings, or Cartridge
A dripping faucet can be frustrating. Often, the root cause lies in worn washers, O-rings, or cartridges. These parts wear down over time, leading to leaks. Fixing them is usually within reach for most homeowners.
Start by turning off the water supply. Then, remove the faucet handle to access the internal components. Inspect the washer or O-ring. If they look cracked or worn, it’s time for a replacement. Check the cartridge as well. Sometimes, a simple cleaning will suffice, but a worn cartridge may need replacing.
Pay attention to details like size and type when buying replacements. A mismatched part will lead to more leaks. Also, remember that not all faucets are the same. Take notes during disassembly to help with reassembly. If you feel uncertain, consult a plumbing resource or expert. Reflect on the process afterward, noting any challenges faced. Each repair is a learning opportunity that builds confidence for future home projects.
How to Repair a Dripping Faucet Easily at Home?
| Repair Method |
Tools Required |
Estimated Time |
Difficulty Level |
| Replace Worn Washers |
Screwdriver, Pliers, Replacement Washers |
30 minutes |
Easy |
| Replace O-Rings |
Wrench, O-Ring Kit |
30 minutes |
Easy |
| Replace Cartridge |
Screwdriver, Adjustable Wrench, Replacement Cartridge |
1 hour |
Medium |
| Tighten Loose Parts |
Screwdriver, Wrench |
15 minutes |
Easy |
Reassemble the Faucet and Test for Leaks After Repair
Reassembling the faucet after a repair is a crucial step. Ensure you have all parts ready. A common mistake is to skip this step hastily. Take your time and refer to any guides available. The key is to remember how each piece fits together. If you overlooked anything, it could lead to more leaks later.
Begin by aligning the spout and handle correctly. Tighten screws gently, using a screwdriver for a secure fit. Don’t overdo it; this can crack plastic parts. Once reassembled, it’s crucial to test for leaks. Turn on your water supply slowly. Watch closely for any dripping. Even a small leak can indicate improper assembly.
If leaks occur, disassemble parts again. Inspect washers and O-rings for damage. Replace any worn components. Check for debris that may cause issues. Rethinking the assembly process can help identify errors. Each step matters, so be thorough. This reflective method can prevent future problems. A well-repaired faucet saves water and reduces costs.
FAQS
: Look for characteristics of compression, cartridge, ball, or ceramic disc faucets. Each type functions differently.
Worn washers, faulty cartridges, and damaged seals often cause leaks in different faucet types.
Start by turning off the water. Identify the type and inspect for worn parts like washers or O-rings.
Remove the faucet handle, check for damage, and install new parts using the correct size.
Basic tools like screwdrivers and wrenches are usually sufficient. Ensure you have the correct sizes ready.
Consider checking the cartridge for issues. Sometimes cleaning can help, but replacement may be necessary.
It's very important. Detailed notes aid in reassembly, reducing the likelihood of errors while putting it back together.
Yes, in some cases, cleaning the cartridge can fix functional problems. Be sure to inspect for any wear.
Consider the challenges faced and improvements for next time. Every repair helps you learn and improve.
Mismatched parts can lead to more leaks. Always take time to match sizes and types when replacing components.
Conclusion
If you're wondering how to fix a dripping faucet at home, the process can be straightforward with a bit of preparation. Start by identifying the type of faucet you have, as different designs may have unique components leading to leaks. Common causes of leaks often involve worn washers, O-rings, or cartridges that require replacement.
Next, gather the necessary tools such as screwdrivers, pliers, and replacement parts. Carefully disassemble the faucet to access its internal components and inspect them for wear. Once you have identified which parts need replacement or repair, proceed to make the changes. Finally, reassemble the faucet and test it for any leaks to ensure a successful repair. With these steps, you can effectively tackle a dripping faucet and restore it to proper function.

 Zhishang Sanitary Ware